.png?width=300&height=68&name=Lockup_Primary_RGB_IE%20(3).png)
Step 1: Start Your Send
- From your main dashboard, click Create Send.
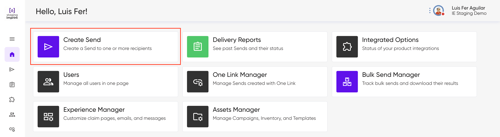
- Select the Ship to location tile.
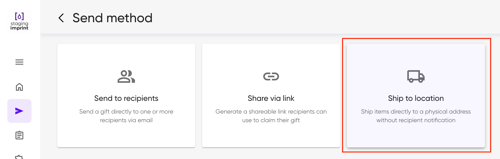
Step 2: Select your items
- Browse the catalog using the tabs provided to find the kits or items you want to send.
-
Option A: Choose a Kit
- Select Tab "Curated kits"
- Pick one or more kits to include.
- Click Continue to Link Settings.
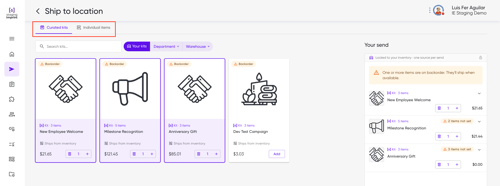
- Option B: Pick individual items
-
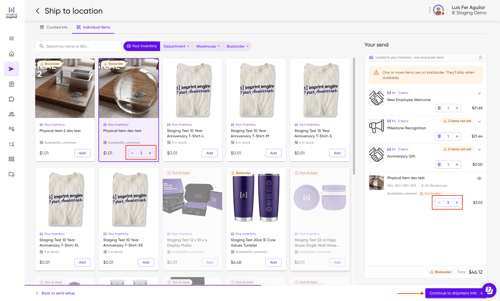
- Select Tab "Individual items"
- Pick items from your inventory.
- Adjust quantities as needed.
- Click Continue to Link Settings.
-
Note: A summary of the kits and/or products available to the recipient will appear on the right side of the screen.
Confirm your item selections before moving on. When it's ready, click Continue to shipment info.
Step 3: Enter Shipment Details
Contact:
Enter the recipient's first name, last name, email, and phone number.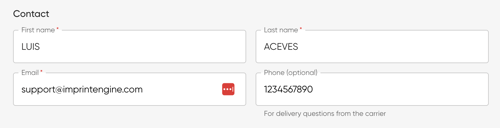
Destination:
Either manually enter the shipping address (country, address, city, state/region, ZIP), or click Choose a saved address to pull one in from your Address Book.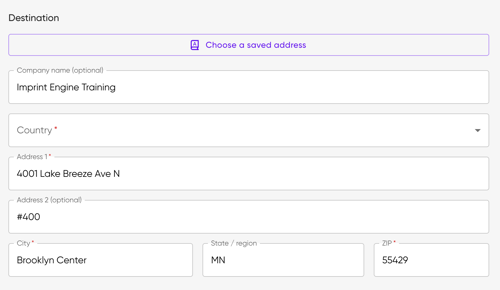
Step 4: Configure Settings and Records
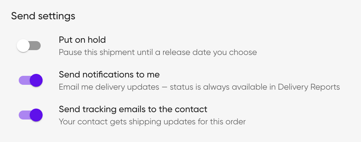
Send settings:
Toggle any preferences you need:
- Put on hold — lets you place an order now and schedule it to go out on a future date — handy for planning sends ahead of time.
- Send notifications to me – When ON, you'll get email updates on every send, and can check status anytime in the Delivery Report.
- Send tracking emails to the contact – When ON, recipients receive email updates on their order status.
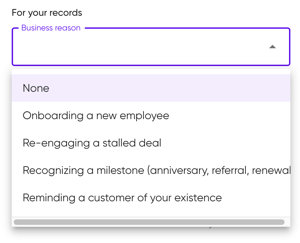
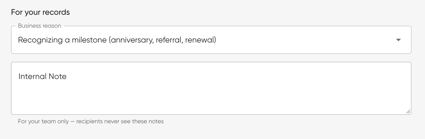
For your records:
Select a business reason (e.g., "Onboarding a new employee") and add any internal notes — visible only to your team.
- Business reason
- Internal notes
Click Continue to review. If you entered the address manually, a prompt asks whether to save it to your Address Book — select Save or No thanks.
Step 5: Review and Submit
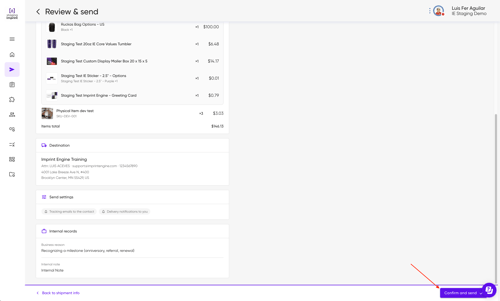
- On the Review & send screen, verify the selected items, destination address, and settings.
- Click Confirm and send to finalize the order and initiate the shipment.
If you have any questions, contact us at support@imprintengine.com or visit our IEX Academy on YouTube for additional guidance and tutorials.