.png?width=300&height=68&name=Lockup_Primary_RGB_IE%20(3).png)
Step 1: Start Your Send
- From the main dashboard, click Create Send.
- Select Share via Link.

Step 2: Select your items
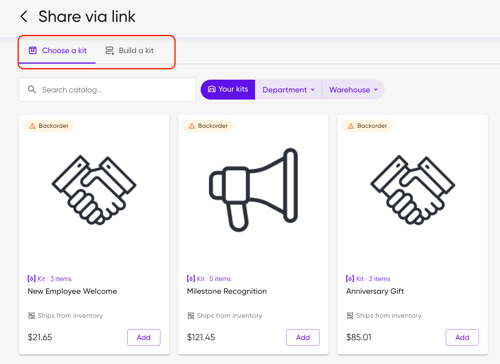
- Browse the catalog using the tabs provided to find the campaigns or items you want to send.
-
Option A: Choose a Kit
- Select Tab "Choose a kit"
- Pick one or more kits to include.
- Click Continue to Link Settings.
-
Option B: Build a Kit
- Select Tab "Individual kits"
- Pick items from your inventory.
- Adjust quantities as needed.
- Click Continue to Link Settings.
-
- A summary of the kits and/or products available to the recipient will appear on the right side of the screen.
- Confirm your item selections before moving on. When it's ready, click Continue to shipment info.
Step 3: Configure Link Settings
Link details
- Title — A descriptive name for your own reference. It appears in the Link Manager and is visible only to your team.
- Sender — Turn this ON to send gifts on behalf of someone else you choose; leave it OFF to send on your own behalf.
Limits
- Expiration date — Automatically ends the campaign at a set time. You can also end it manually anytime from the Link Manager.
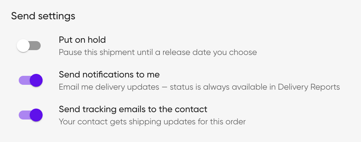
- Put on hold — lets you place an order now and schedule it to go out on a future date — handy for planning sends ahead of time.
- Redemption limit — Caps the total number of times the link can be claimed. Once the cap is reached, additional visitors see a "no longer available" message.
Notifications
- Sender notifications — When ON, you'll get email updates on every send, and can check status anytime in the Link Manager.
- Recipient tracking emails — When ON, recipients receive email updates on their order status.
Advanced settings
- Password protection — Requires recipients to enter a password before they can access the send.
- Extra verification (optional) — Add one of the following:
- Email domain limiting: Restrict access to specific email addresses.
- Two-factor authentication: Recipients verify their phone number or email with a code.
Shipping
- Decide where items can ship, let the recipient enter any address [Recipient decides], restrict choices to a pre-approved list from your Address Book [From a list], or fix it to one location [Fixed address].
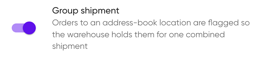
- Group shipment — When ON, orders shipping to an Address Book location are automatically flagged for the warehouse, so they're held and combined into one shipment instead of going out separately.
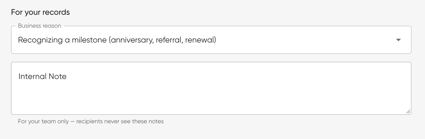
For your records
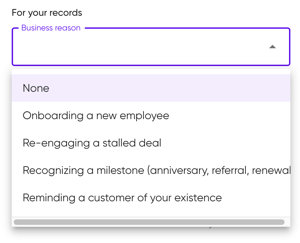
Select a business reason (e.g., "Onboarding a new employee") and add any internal notes — visible only to your team.
- Business reason
- Internal notes
Click Continue to Claim Page.
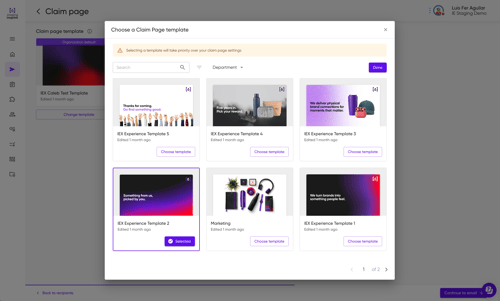
Step 4: Customize the Claim Page
-
Select your preferred visual template for the claim page.
-
Click Continue to review
Step 5: Review and Send
- Review the final summary of your items, security settings, and claim page design.
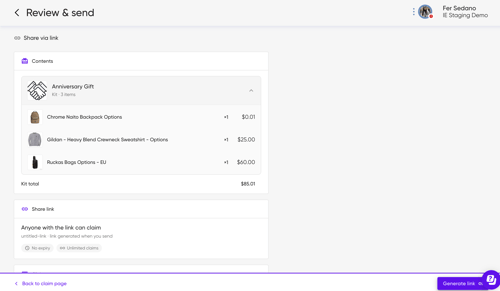
A confirmation window will show your live URL (and password, if you enabled it) — copy it and share it right away.
Tip: Use the Link Manager on your main IEX dashboard anytime to review link summaries, update settings, or check on confirmed sends.
If you have any questions, contact us at support@imprintengine.com or visit our IEX Academy on YouTube for additional guidance and tutorials.