.png?width=300&height=68&name=Lockup_Primary_RGB_IE%20(3).png)
Step 1: Start your send
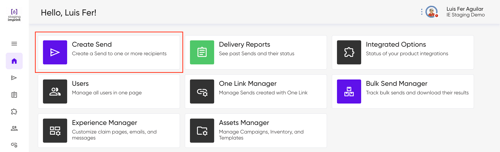
- From the main dashboard, click Create Send.
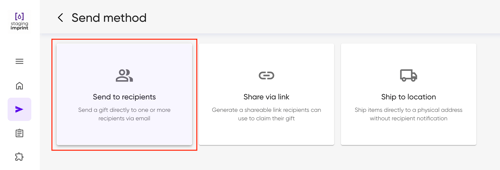
- Select the Send to Recipients tile.
Step 2: Select your items
- Browse the catalog using the tabs provided to find the kits or items you want to send.
-
Option A: Choose a Kit
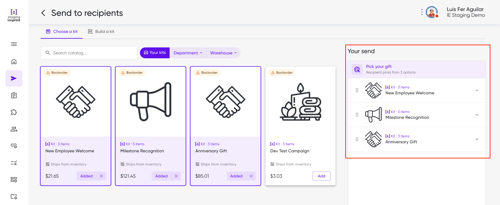
- Select Tab "Choose a kit"
- Pick one or more kits to include.
- Click Continue to Link Settings.
-
Option B: Build a Kit
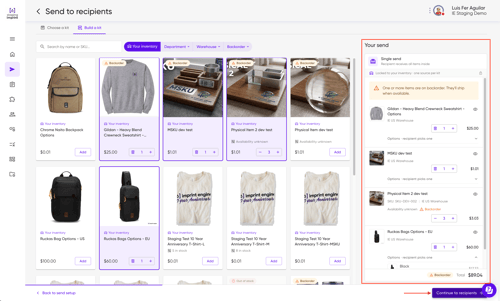
- Select Tab "Build a Kit"
- Pick items from your inventory.
- Adjust quantities as needed.
- Click Continue to Link Settings.
-
- A summary of the kits and/or products available to the recipient will appear on the right side of the screen.
- Confirm your item selections before moving on. When it's ready, click Continue to recipients.
Step 3: Add Recipient Data
Shipping destination:
Decide where items can ship, let the recipient enter any address [Recipient decides], restrict choices to a pre-approved list from your Address Book [From a list], or fix it to one location [Fixed address].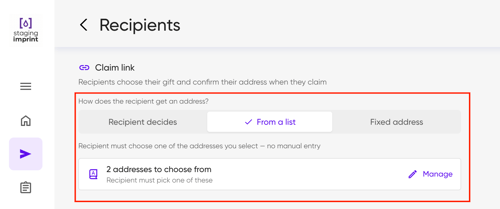
Add your recipients:
Choose one of two ways: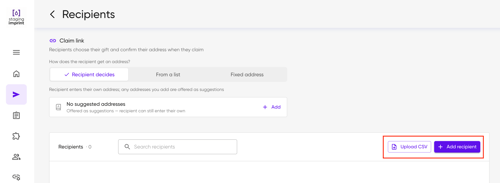
- Manual — Click + Add Recipient to enter contact and location details by hand.
- CSV upload — For multiple recipients, click Upload CSV. A guided window walks you through the upload.
- During the CSV workflow, use the mapping screen to match your file's column headers to system fields. You can review, fix, or delete any invalid entries right there before finalizing the import.
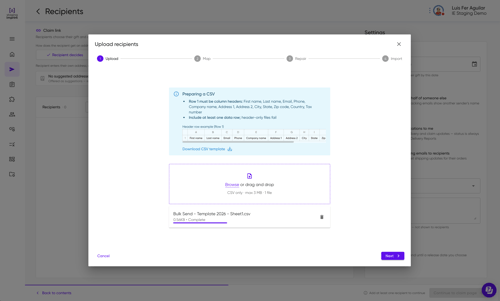
- During the CSV workflow, use the mapping screen to match your file's column headers to system fields. You can review, fix, or delete any invalid entries right there before finalizing the import.
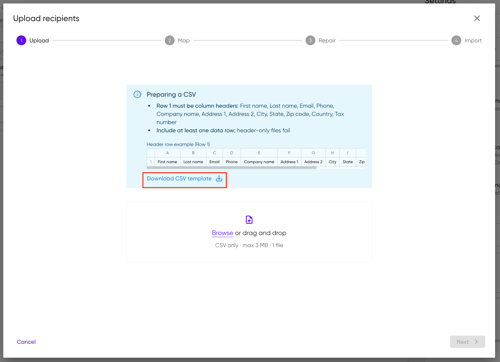
Tip: You can download the CSV template file in the blue section.
Once added, recipient details (name, address, email) appear in the center of the screen so you can verify them — edit or delete any entry as needed.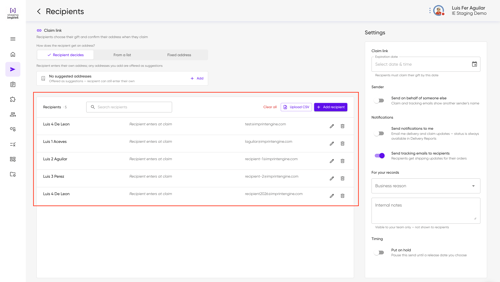
Step 4: Configure Settings
Use the settings panel on the right side of the screen to configure:
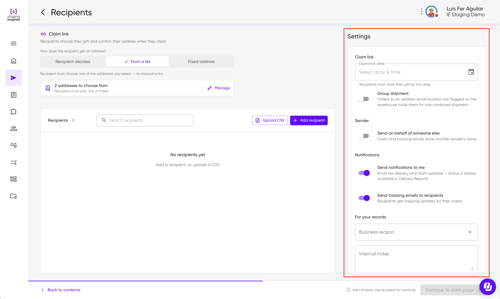
Delivery
- Expiration date - Automatically ends the campaign at a set time.
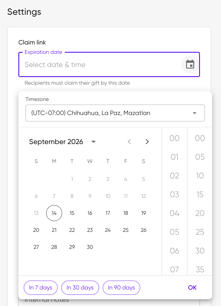
- Send on behalf of someone else — Claim and tracking emails show another sender's name.
Notifications
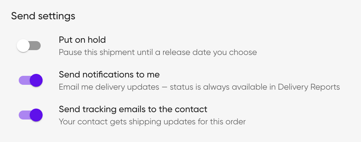
- Send notifications to me - When ON, you'll get email updates on every send, and can check status anytime in the Delivery Report.
- Send tracking emails to recipients - When ON, recipients receive email updates on their order status.
For your records
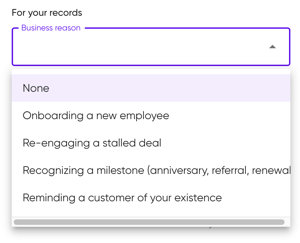
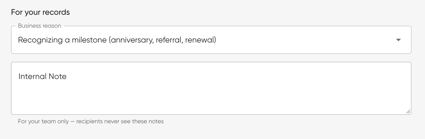
Select a business reason (e.g., "Onboarding a new employee") and add any internal notes — visible only to your team.- Business reason
- Internal notes
Timing
- Put on hold — lets you place an order now and schedule it to go out on a future date — handy for planning sends ahead of time.
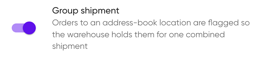
- Group shipment — When ON, orders shipping to an Address Book location are automatically flagged for the warehouse, so they're held and combined into one shipment instead of going out separately.
- Click Continue to claim page.
Step 5: Customize the Claim Page
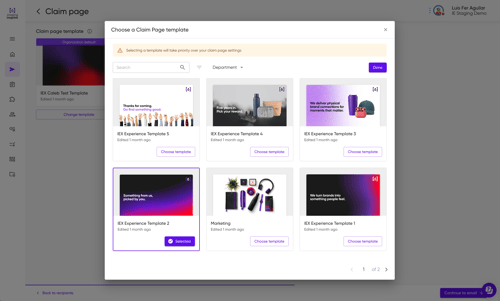
- Choose your claim page template — use your Organization's default Claim Link Template, or select a different one.
- Click Continue to email when you're ready.
Step 6: Compose the Email
Select the email template your recipients will receive. You can edit its content and set up reminder emails.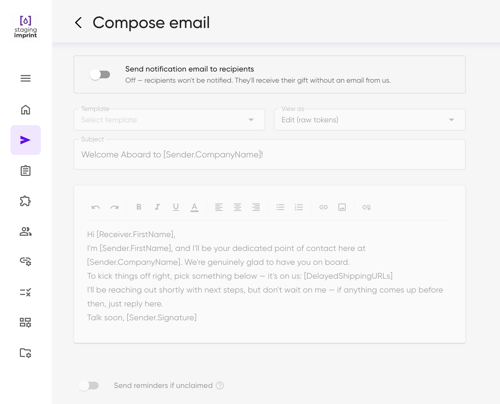
Step 7: Compose the Custom message
Toggle on if you want to include a printed note that will be packed with the gift. You can select from the templates or write your message.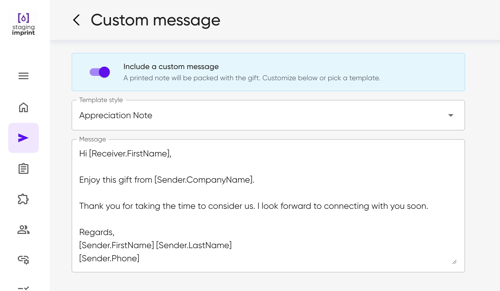
Click Continue to review.
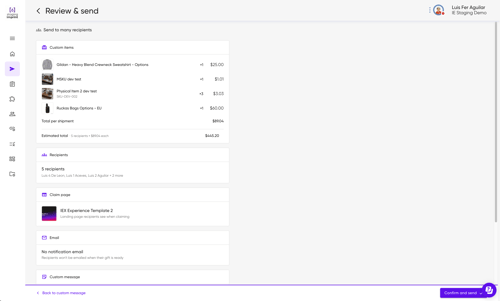
Step 8: Review and Submit
- Check item quantities, recipient data, and cost summary.
- Click Confirm and send to finalize the order.
If you have any questions, contact us at support@imprintengine.com or visit our IEX Academy on YouTube for additional guidance and tutorials.